|
||||
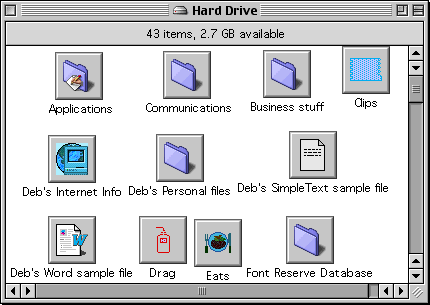
A View for all Reasons - Part OneWritten and published May 20, 1999 We've spent quite a bit of time discussing how to organize your files, but have yet to talk about how you view your files. Now's as good a time as any. This may take several weeks. This week we'll start with the broadest overview, then we'll get into the tricks. There are several ways you can view your files and folders. When it comes to viewing your stuff there's no right or wrong - just what's comfortable for you. However, there are some times one way is more efficient than another. There are also ways to use each view most efficiently. We'll get into all that. When you double-click your hard drive icon (AKA open your hard drive window) how do you see your folders and files? Do you see icons as shown here? That means you view "as icons."
Or do you view "as buttons?"
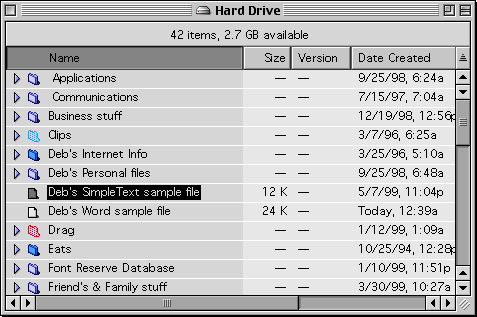
Or perhaps you see files and folders with a blue triangle to the left of each folder. This is called viewing "as list." Many people choose to view "as icon," because they like the icons. Did you perchance experiment with the View menu when you got your Mac, and switch to As List only to see this:
Not too nice, is it? These tiny icons are hard to click on - and you can't see what any file is since there are no custom icons. If you're like most people (myself included), you tried this and went right back to the cheerier View As Icons. But did you know there are other List choices? You can view your files as a list, and still have icons.
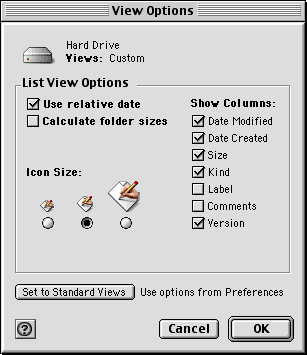
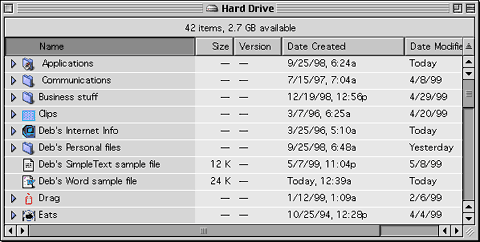
Notice the icons now have "personality" so you can see what your files are. Notice in the small view (above) that you can't tell which document is Word or SimpleText, but in the medium view you can. Click on one of the folder's triangles so you can see what's in the folder. It's easy to see all that now. Continue the experiment by returning to Views->View Options and select the largest icon size. This is the same icon you see when you view by icon. Now try scrolling through your hard drive and using triangles to see your folders' contents. In this view the icons are great, but you can see fewer folders or files in the window so you'll find yourself doing a lot of scrolling. List view isn't the only one that provides different icon sizes. You can choose small or large icons for your icons and buttons as well. However, those views only provide two sizes. Take a look. Open a folder, set it to View as Icons or View as Buttons, then choose the View Options for that folder and setting. Icon view is cool, and comes in handy at times, but isn't efficient when you need to see the contents of more than one folder at a time. List views are convenient for seeing lots of files, but sometimes you'll want to enjoy the larger icon view. Luckily , OS8 gives new meaning to the words, "to each his own." Each folder can have its own view. Just open any folder, choose Views->View Options and select the desired size. Note: If you don't see View Options in your View menu, you're using an older system. In that case, go to the Views Control panel. You'll see the radio buttons to set the icon size in the bottom left of the Views control panel. In this case the view is universal for all folder in which you use a list view. Next WeekDid you notice all the other options in the View Options dialog box. Next week we'll continue to look at some of them. Later on we'll get into when each view is most handy. |
||||


 Want to try this? Open your hard drive so the hard drive window is your active window. Then choose View->View Options so you see this dialog box: